Thursday, 26 May 2011


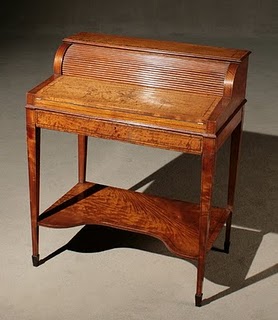
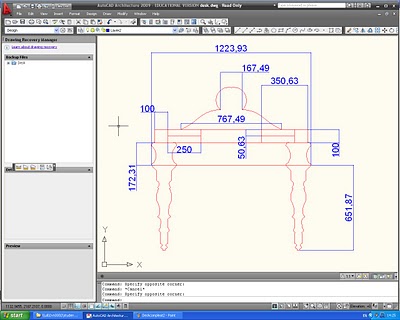
Here the pictures from autocad drawing that Callum designed and the tinny model we did.
We end up modifying the design and some of the measures because they were wrong,like the legs for example,were too low!:s and we realised once we cut them already :s

cabinet :D


Here are the design that we did because we didn't find any design of it in autocad.We also recycled the door from another furniture.First we cut the pieces,and attach tha back and the bottom with a frame and after we add the 2 walls that separate the shelves.We used the drill and screwdriver to attach the big pieces and after everything was done we used the nail gun too.We put tinny pieces of pine under the shelves to support them because they were to thing to attach it to the back directly.After we sanded and apply the varnish that Daniel bought.Two layers were applied because one was too light.In the beginning we wanted to put legs to it,but after when we saw how was looking we decided better to do it without it.

grrrrr


I dont know how to upload the pictures with the text properly!!!:s


Anyway,here more pictures of the bookcase!Chloe and Daniel were to buy some acrylic sheets 468mmx2 wide and 1384 mm x 2 high for the"doors" of the bookcase!We glue it to the frames of the door with the glue gun and after we glue to it the beading that decorates the acrylic!They bought 4 x 200 mm beading.


Also we add the handles to the drawers and we apply the glazing to the bookcase.

Furnitureeeeeeeeeee:)


I suppose to do 2 pieces of furniture with Daniel and Chloe but they were doing another furniture
together so in the end we decided do the 3 pieces of furniture together.The first one was theirs,the bookcase,i haven't the autocad design but here is the picture of the small model,neither i have the measures!:s Anyway,we construct it attach to the walls,in the drawing room where should go the desk,and screen...where Ivan suppose to die!
after we painted mixing different tones of brown and grained with black and dry brushes.


Once all the flats are done we paint it and hand grained.We paint just the bottom bits and leave it dry,after we started to build up the walls...attaching them together to make the rooms.

:)

After have the final design we started doing the flats for the walls of the set!
First doing the frames with 3x1pine screwed in rectangular form with struts between the frame.After with attach the sheets of plywood to it,using some glue and the nail gun to do it!:)


Monday, 23 May 2011

and moreeeee pictures


We did the design of where would be placed the furniture and windows,as well we did some
mood board about architecture,furniture,fabrics,etc... and some drawings to imaging how would look.All that we did it before start the small models(i add already the pics from the models).